
DISCUSS (1 of 4):
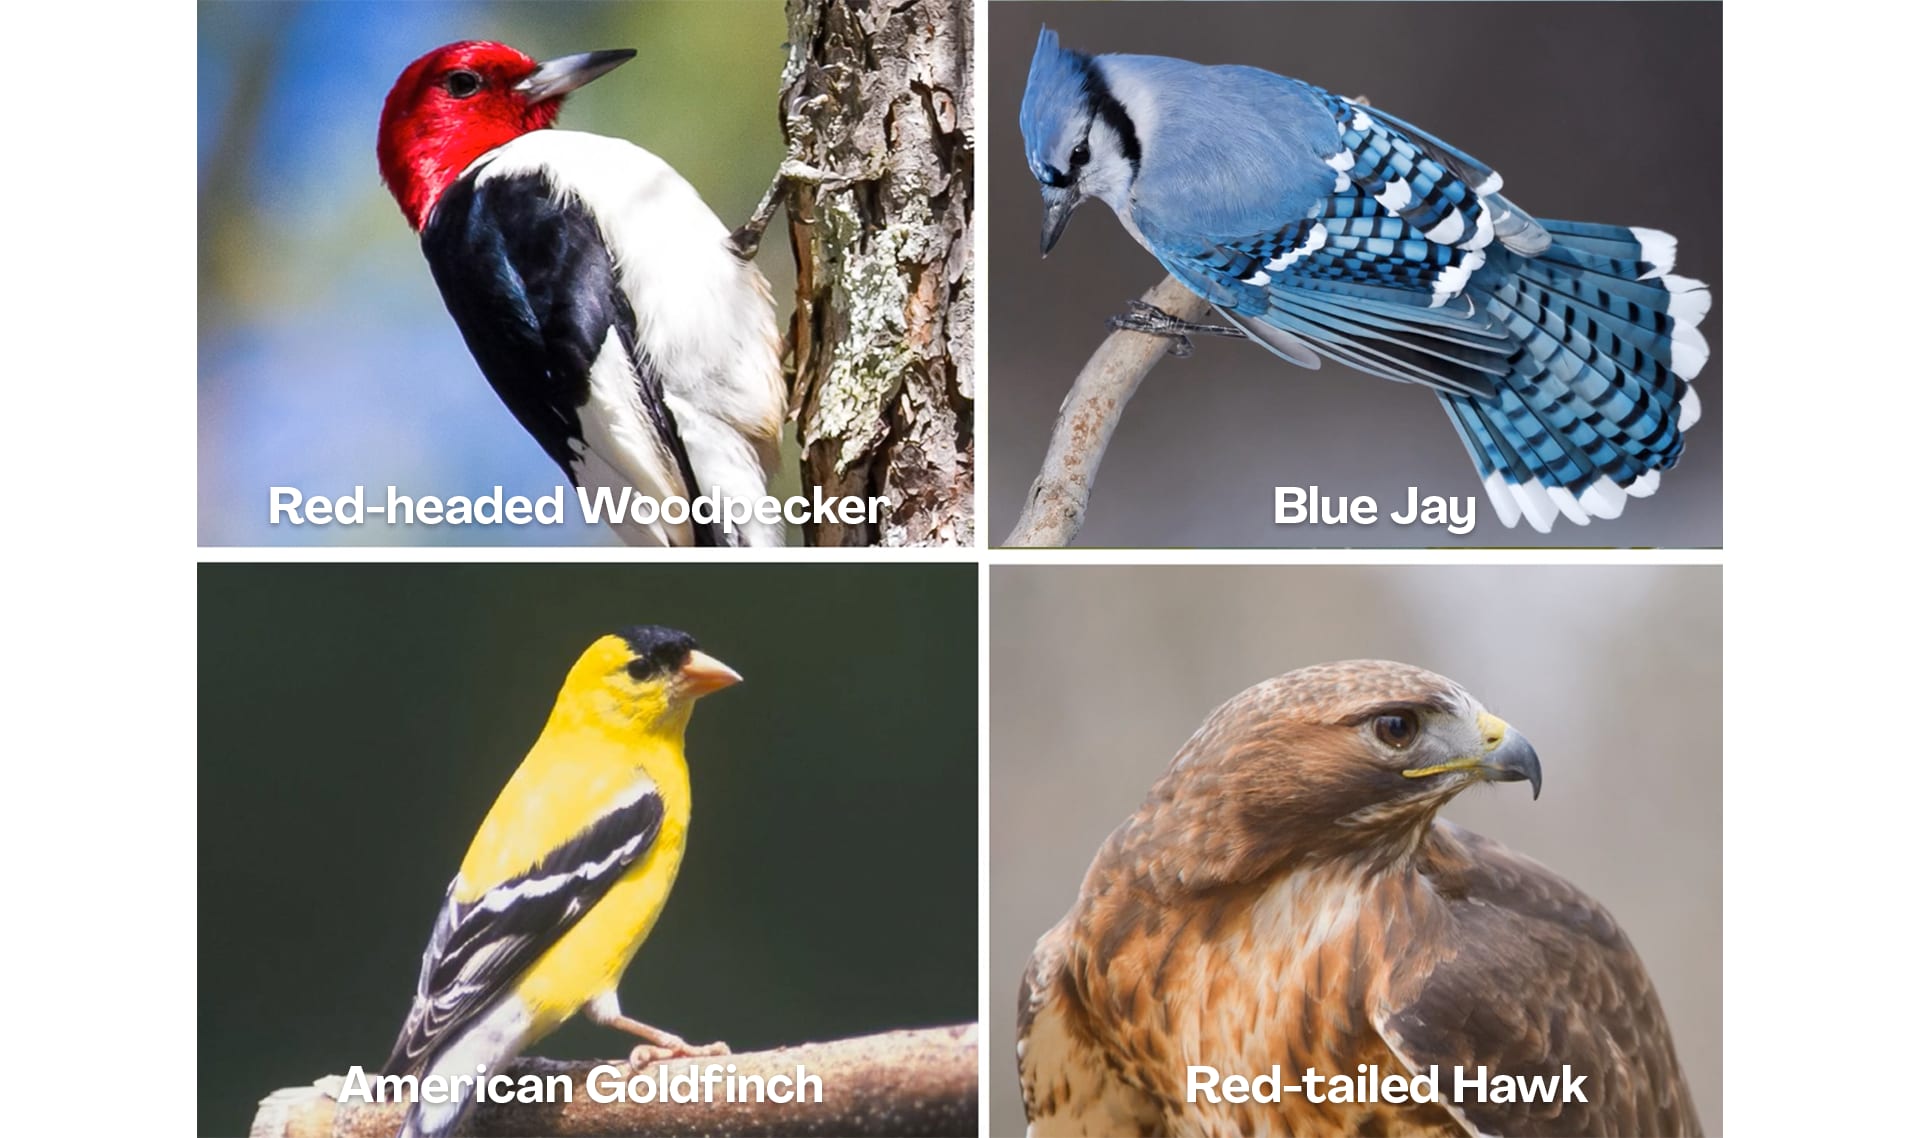
Do you think this bird would come to the feeder? Why or why not? Hint: Think about what the bird would like to eat.
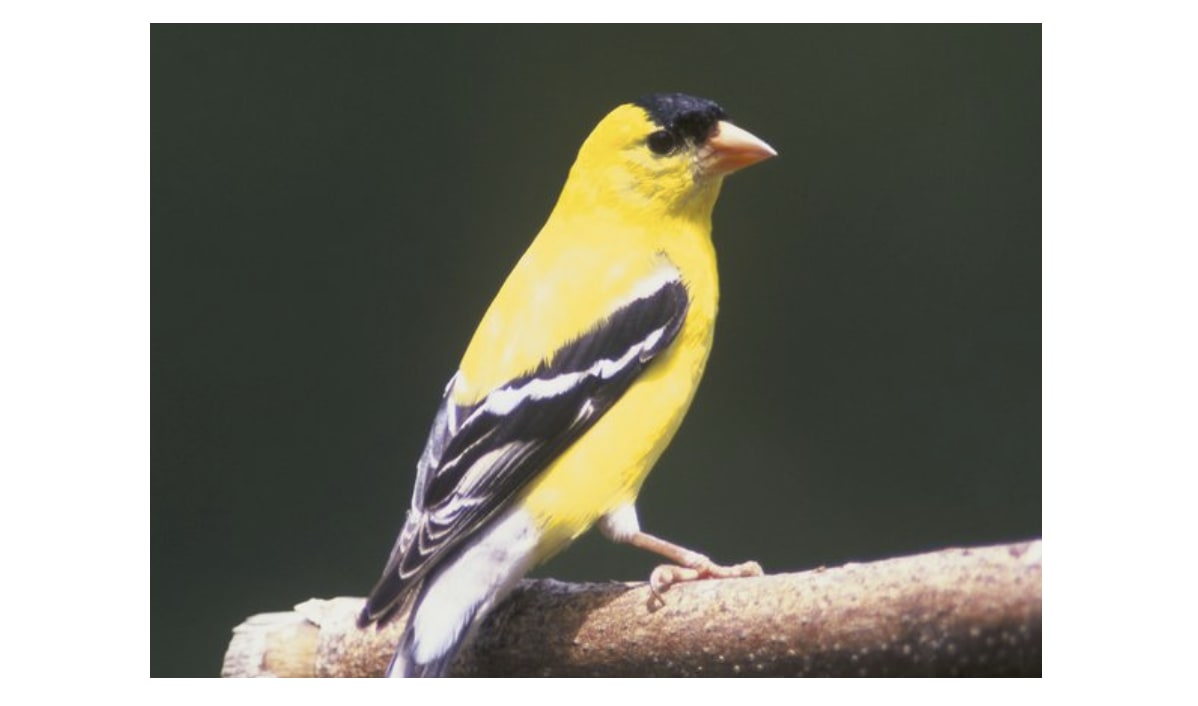
DISCUSS (2 of 4):
Do you think this bird would come to the feeder? Why or why not? Hint: Think about what the bird would like to eat.
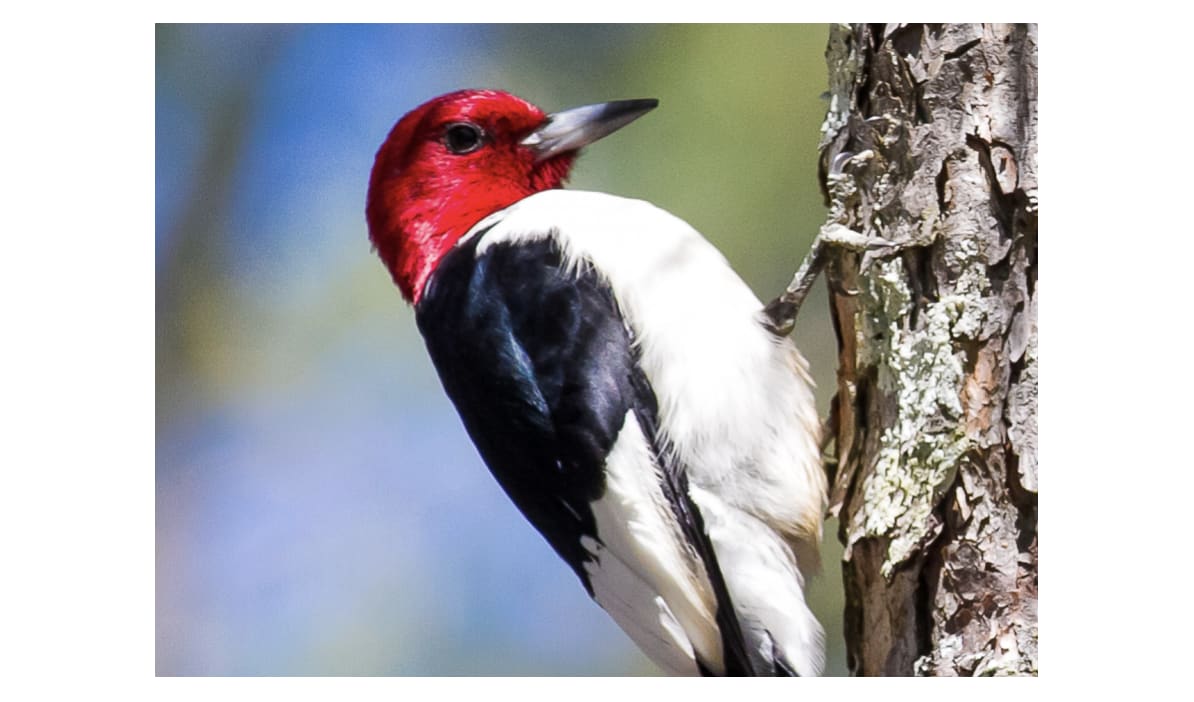
DISCUSS (3 of 4):
Do you think this bird would come to the feeder? Why or why not? Hint: Think about what the bird would like to eat.
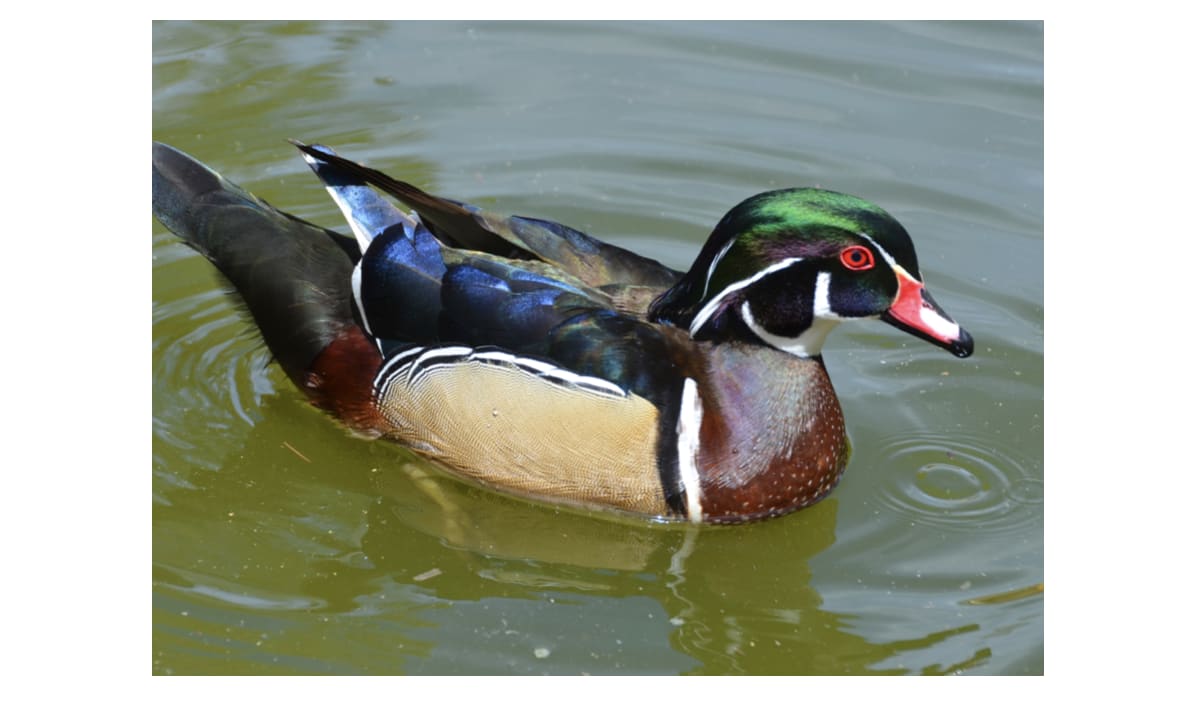
DISCUSS (4 of 4):
Do you think this bird would come to the feeder? Why or why not? Hint: Think about what the bird would like to eat.
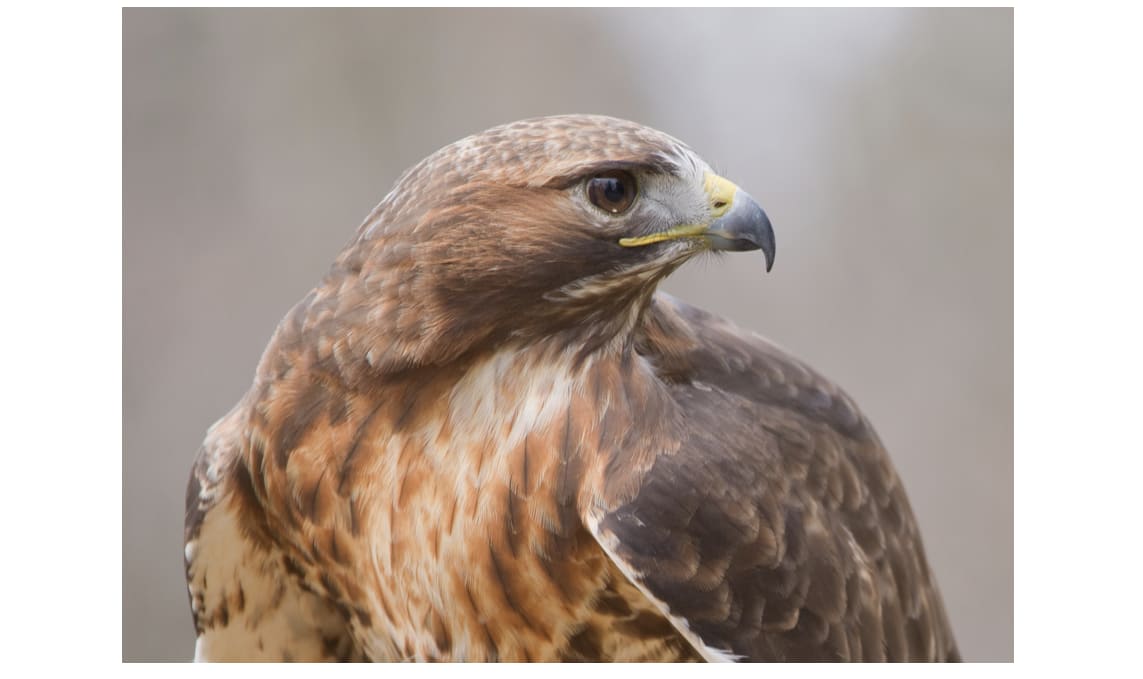

DISCUSS:
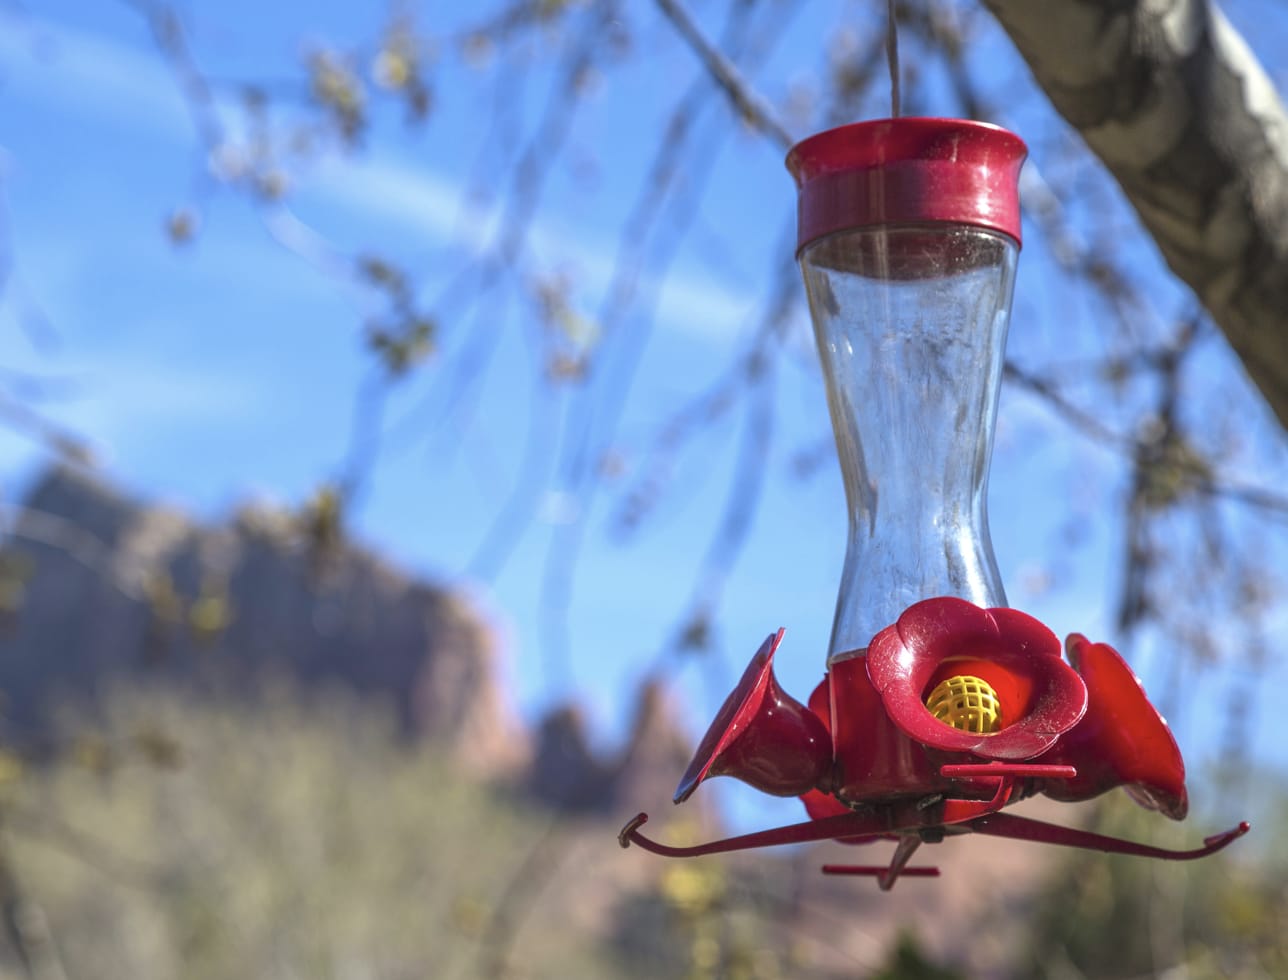
How do you think this feeder works to attract hummingbirds?


Building a prototype bird feeder can take up to 30 more minutes if your class is enthusiastic.
If your time is limited, this is a natural stopping point. You can have students write their names on their worksheets and collect them. You can then build the prototype bird feeders and complete the worksheet during your next science class.



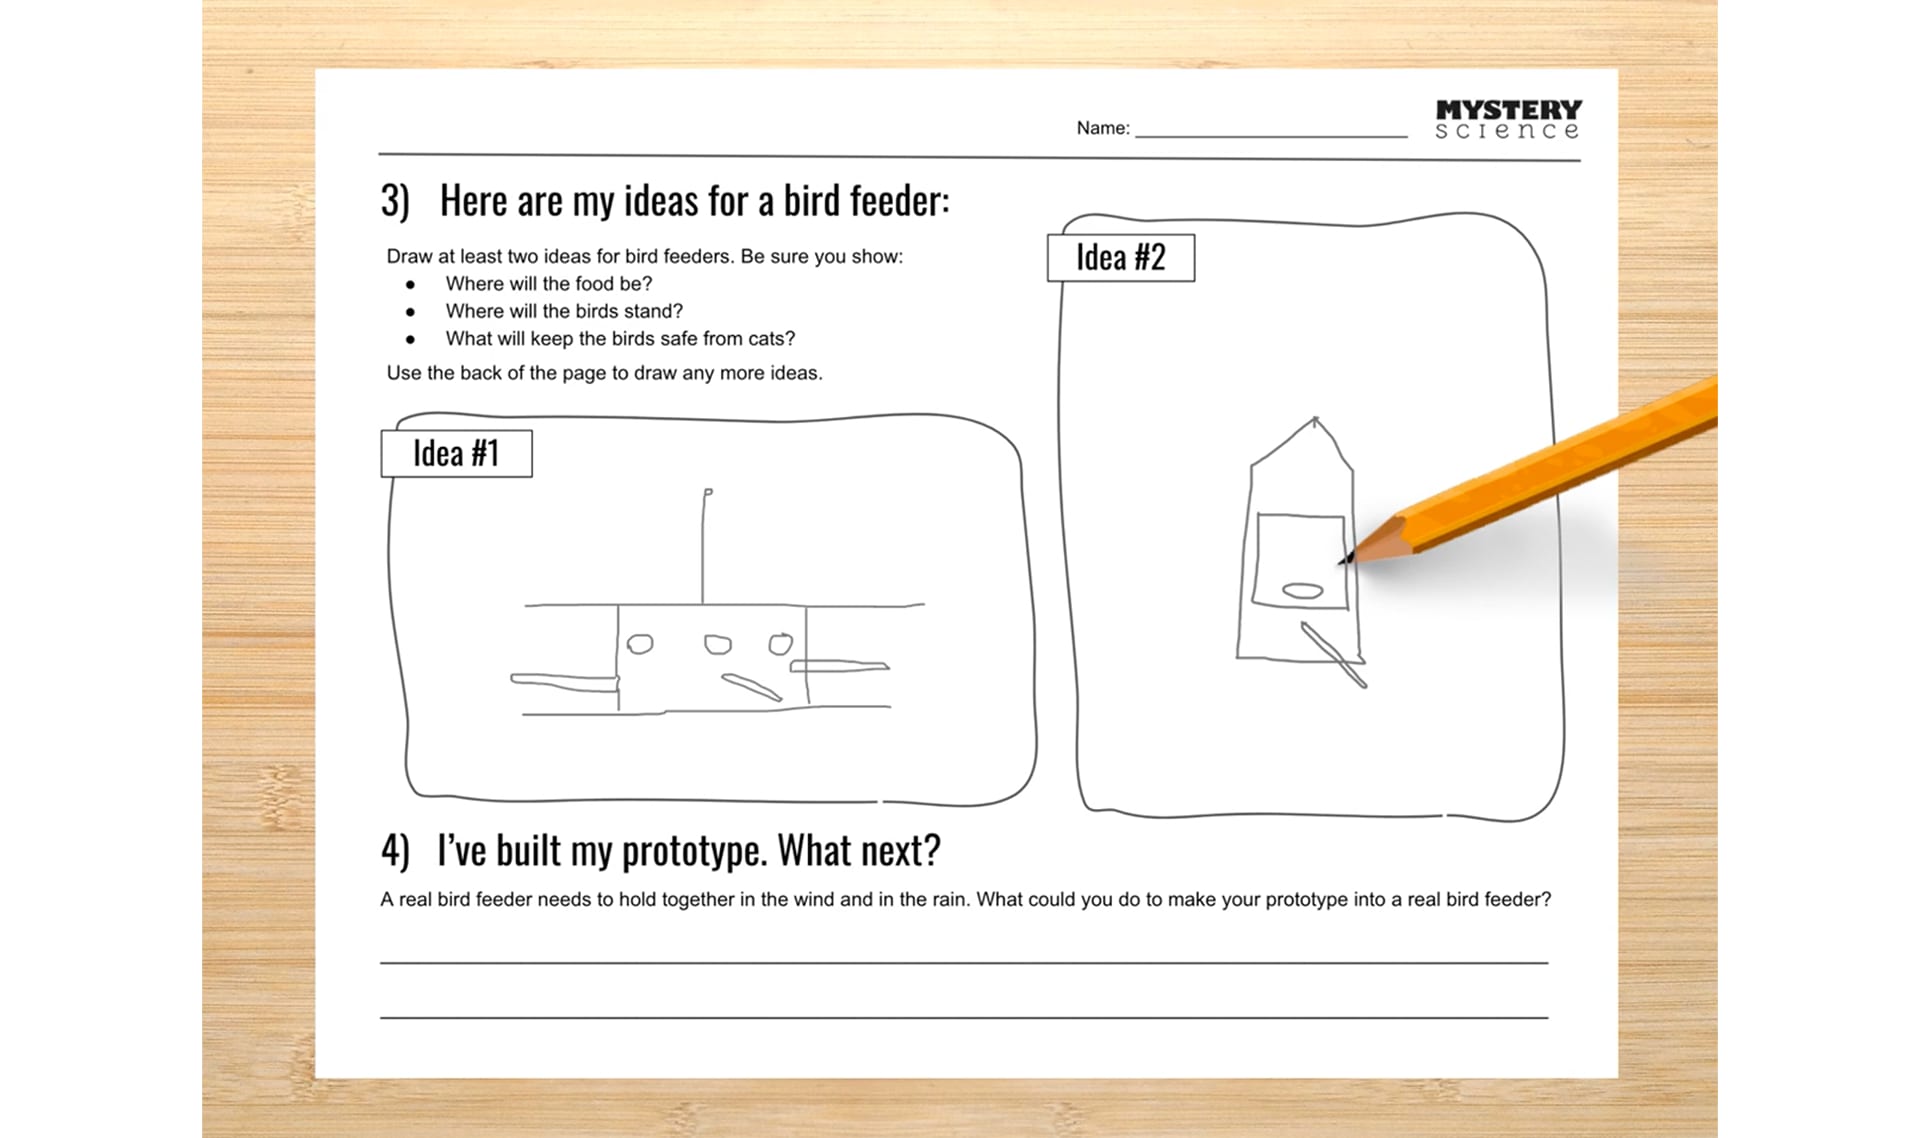
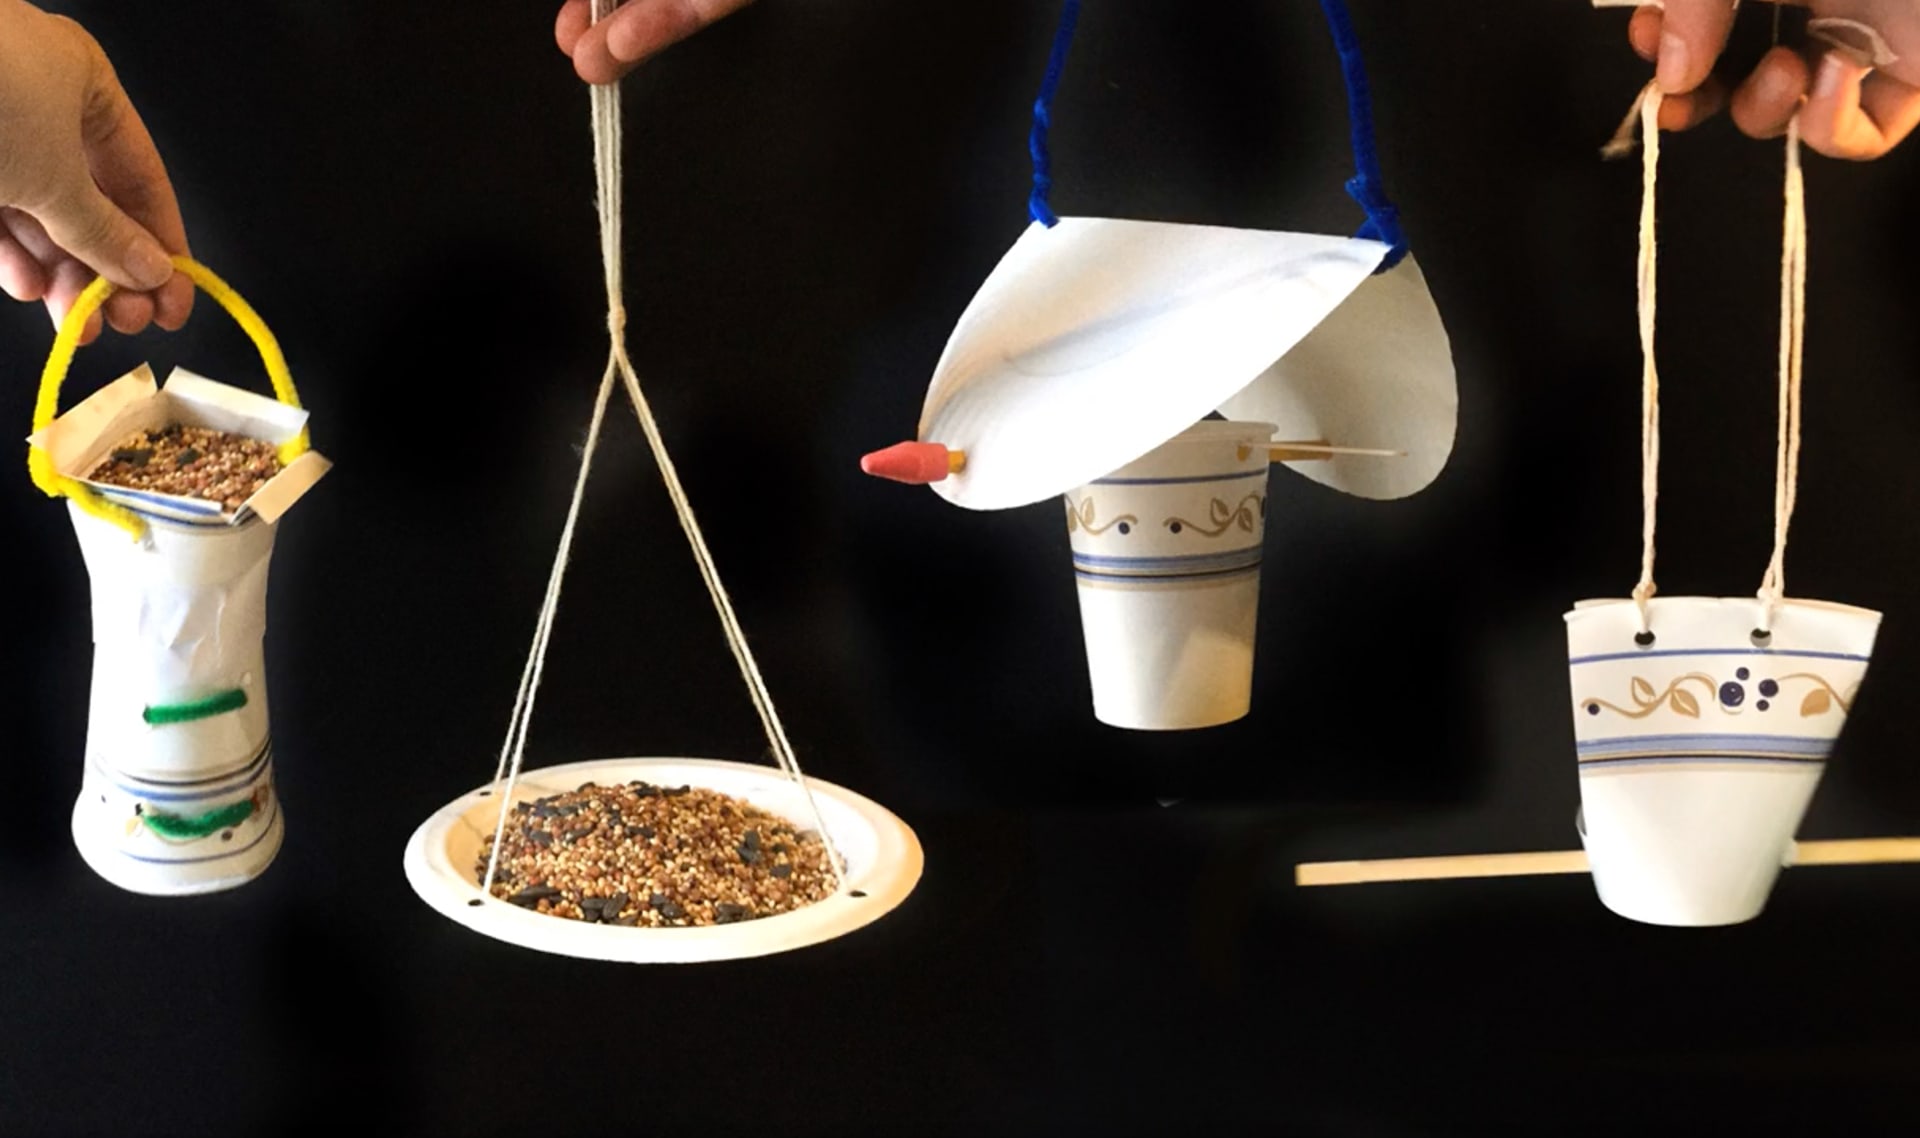
In this lesson, students investigate which kinds of birds are likely to visit a bird feeder based on what they eat. In the activity, Design a Bird Feeder, students first draw their own bird feeder design to attract a specific type of bird. Then they build a prototype of their bird feeder using available materials.
Preview activity| Bird Feeder Inspiration worksheet | 8 copies |
| My Bird Feeder worksheet | 30 copies |
|
Paper Hole Punch
A useful supply for making bird feeders, but if you don't have one, that's okay!
|
Details
1 paper punch
|
|
Scissors
|
30 pairs |
|
Aluminum Foil
|
15 feet |
|
Dot Stickers
We prefer stickers because they are easier to distribute in a classroom.
Tape will also work.
|
Details
240 stickers
|
|
Paper Cups (8 oz)
|
30 cups |
|
Paper Plates
|
30 plates |
|
Pipe Cleaners
|
60 pipe cleaners |
|
Skewers
Sharpened pencils will also work.
|
Details
30 skewers
|
|
Small Binder Clips (3/4")
Clothespins will also work.
|
Details
30 clips
|
Each student will create their own bird feeder, but we suggest students work in pairs to share ideas. Homeschool students can work on their own.
Part 1 (designing a bird feeder) takes 15 to 20 minutes. Part 2 (building the prototype) can take up to 30 minutes.
You may want to divide this lesson into two sessions, stopping after Part 1 and continuing with Part 2 at a later point. If you plan to do the activity in two sessions, building the bird feeder begins at Step 7.
We encourage you to raid your recycling bin for building supplies. You can use materials you find there to substitute or supplement our list of supplies.
Tear aluminum foil into 6” squares so that you have enough for each student.
We suggest providing each student with 8 dot stickers. You can divide these up before class for easier distribution.
If you would like to add bird seed to students’ prototype feeders, you'll need to buy a bag. Be warned: spilled bird seed can be messy. Student prototype bird feeders may not be sturdy enough to actually put outside and use.
We created the Bird Feeder Inspiration printout for students who may be stumped or frustrated by the task of making a bird feeder. We suggest letting students first try to come up with ideas on their own, providing these Inspiration printouts only to those who need extra guidance.
Thanks for your feedback! If you have a question or need help, please contact us. Please consider sharing your review:
Sorry the lesson didn’t go well. We read every single review in an effort to improve our Mysteries.
Thanks for letting us know. We’ll wait to ask you for feedback until after you've actually taught it.
Thanks for the feedback! We read every single review in an effort to improve our Mysteries.
Please follow these steps:
Locked
6:10

Why is the sky blue?
Locked
4:41
Why do we call them doughnuts?
Locked
5:16
Could a turtle live outside its shell?
Your membership is expired. The archive of past Mini Lessons is not included in your limited access.
View pricing